Deconvolution with Huygens Pro
Overview
In this tutorial we will show you how to restore an image using deconvolution methods with the commercial tool Huygens Profesional from Scientific Volume Imaging (SVI). As dataset, we will be using a 3D stack image example that consist of Actin filaments of HeLa cell stained with a fluorescent probe and acquired with a confocal microscopy. This dataset has kindly being provided by Dr. Diego Morone from the Università della Svizzera italiana.
Login
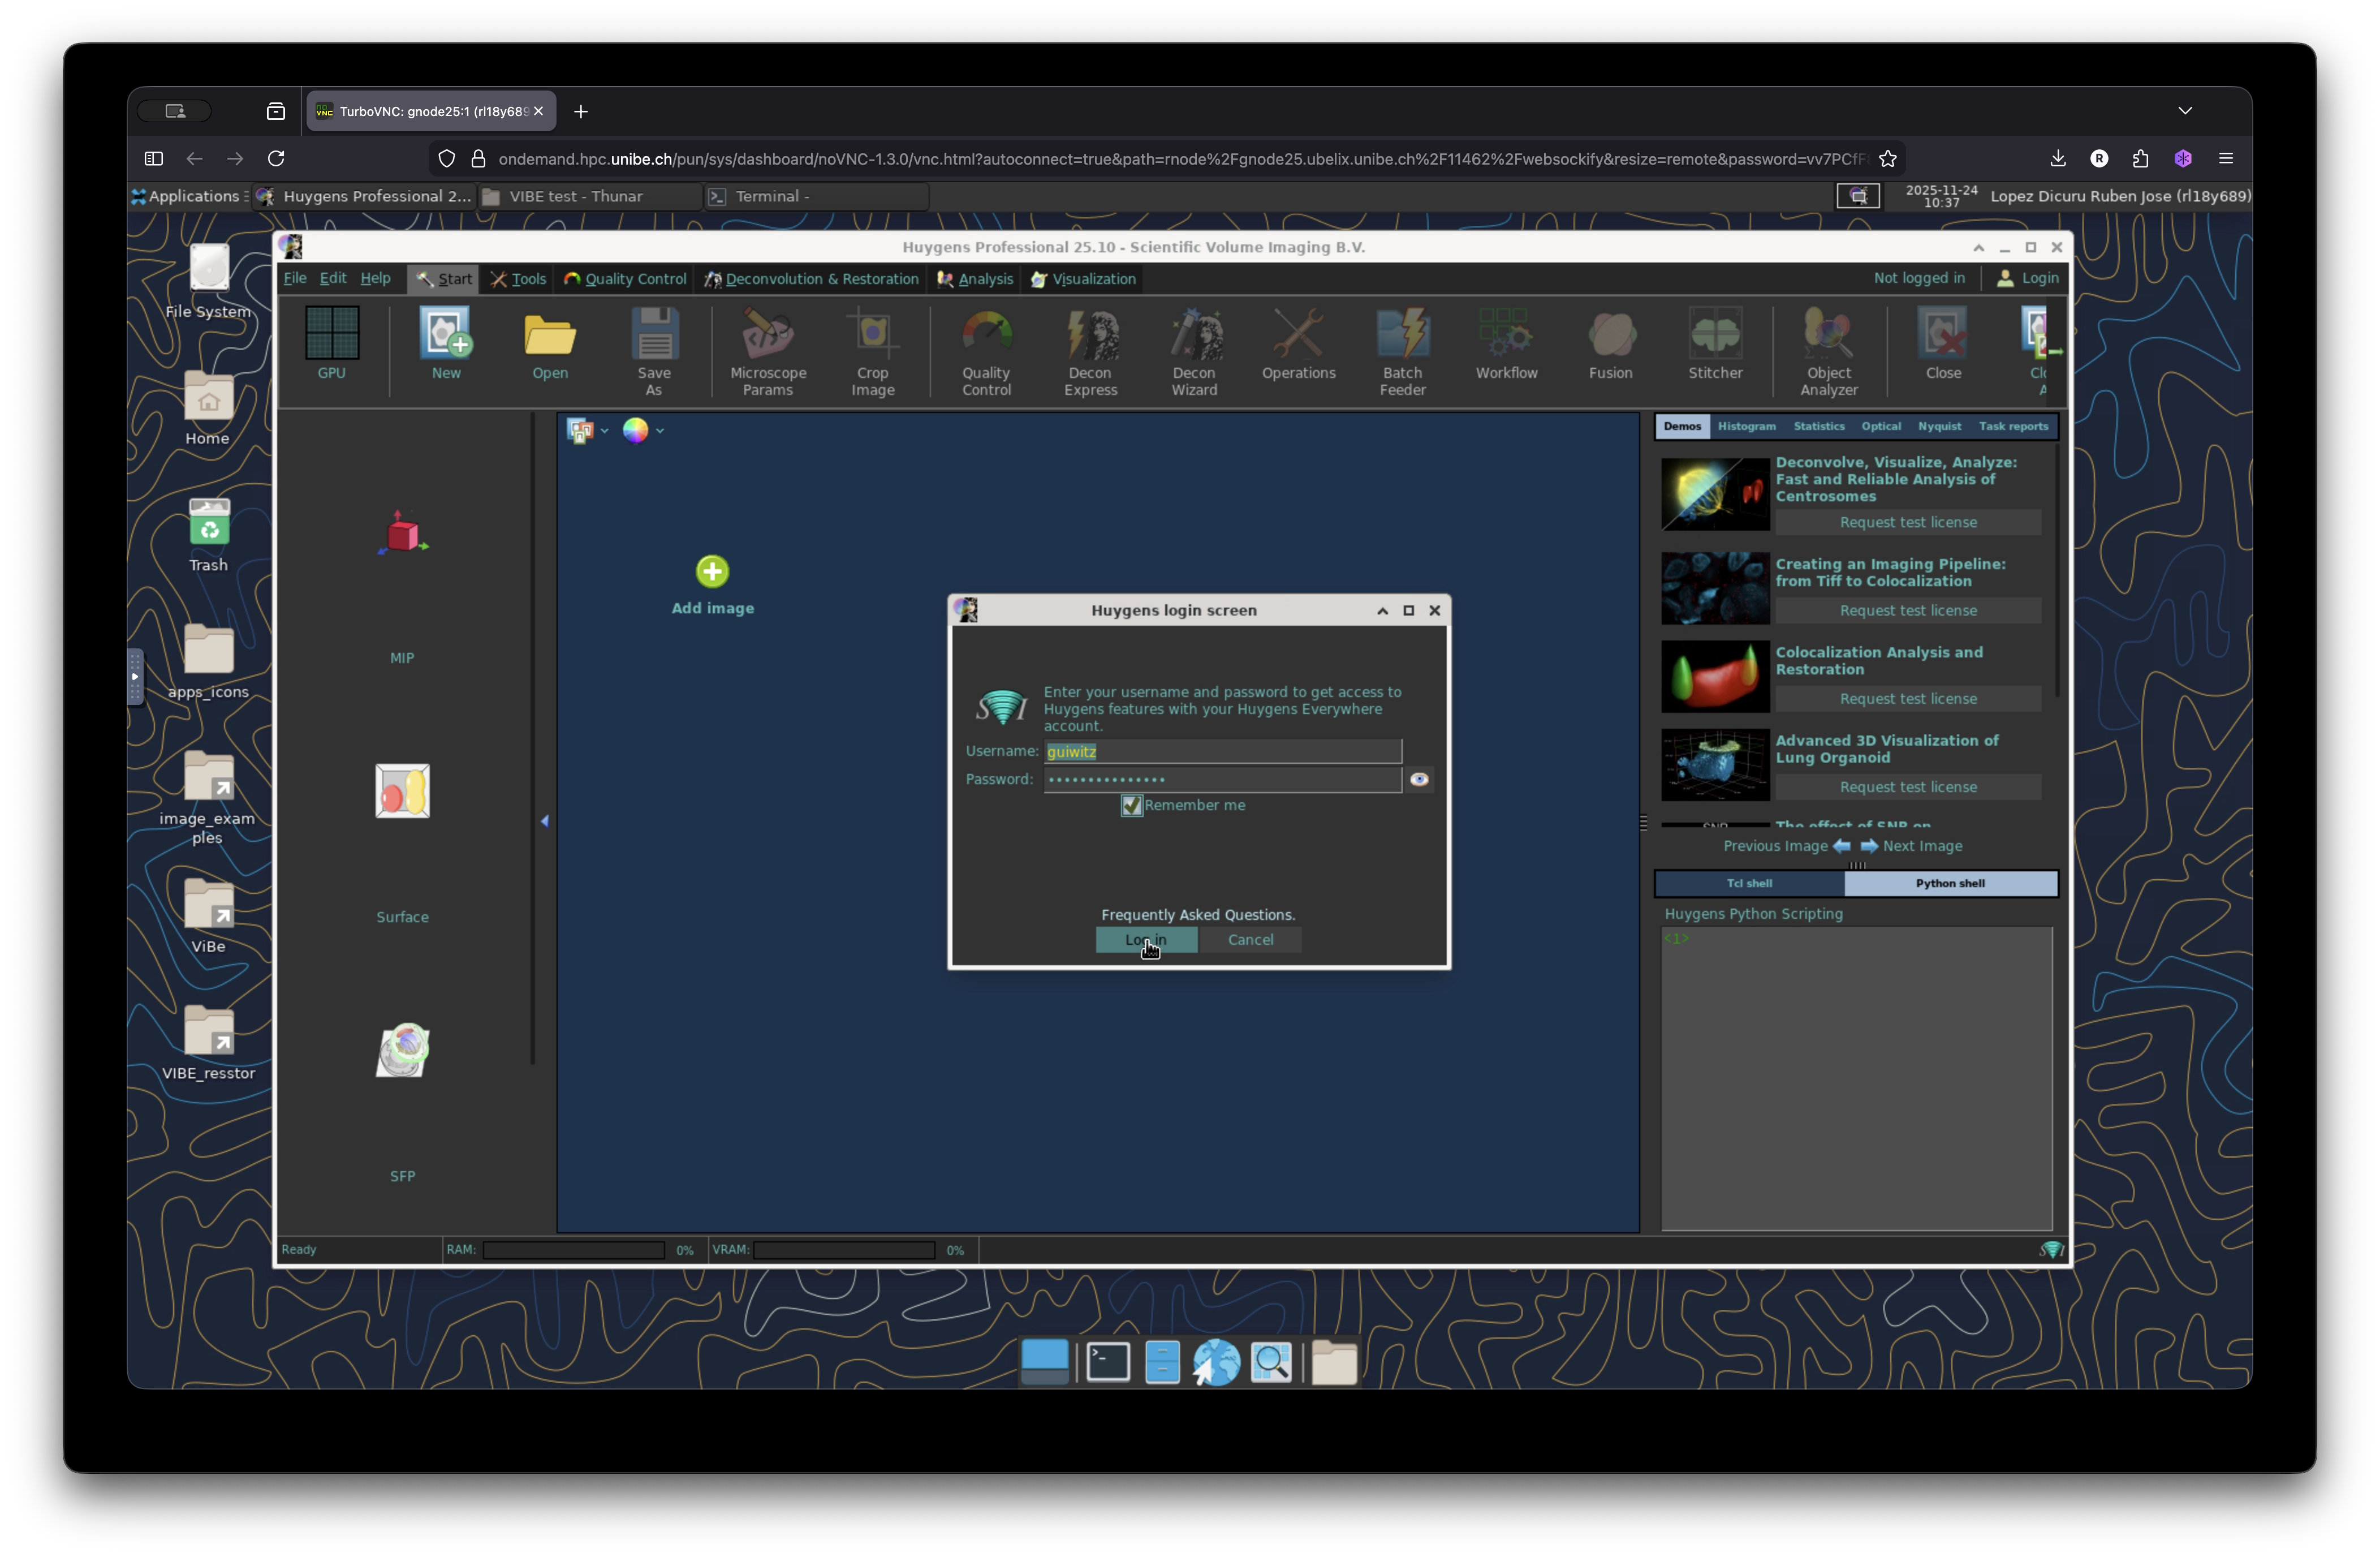
In order to use Huygens remote manager, you need to have a valid license. If you have a license and an active account, please introduce it in this step. If you need one license or want to test Huygens for restoration and deconvolution of your image dataset, please get in touch with the MIC for support or Yury Belyaev. After login, Huygens will check your system and if it finds a GPU it will need a few minutes to initialize the cards.
Open dataset
VIBE, as a service hosted by UBELIX, uses similar data storage scheme and offers connectivity for their user to the Research Storage by default. Read more about data transfer and storage documentation or get in touch with the Dienstleistungen der Informatikdienste to request a Research Storage quota for your project.
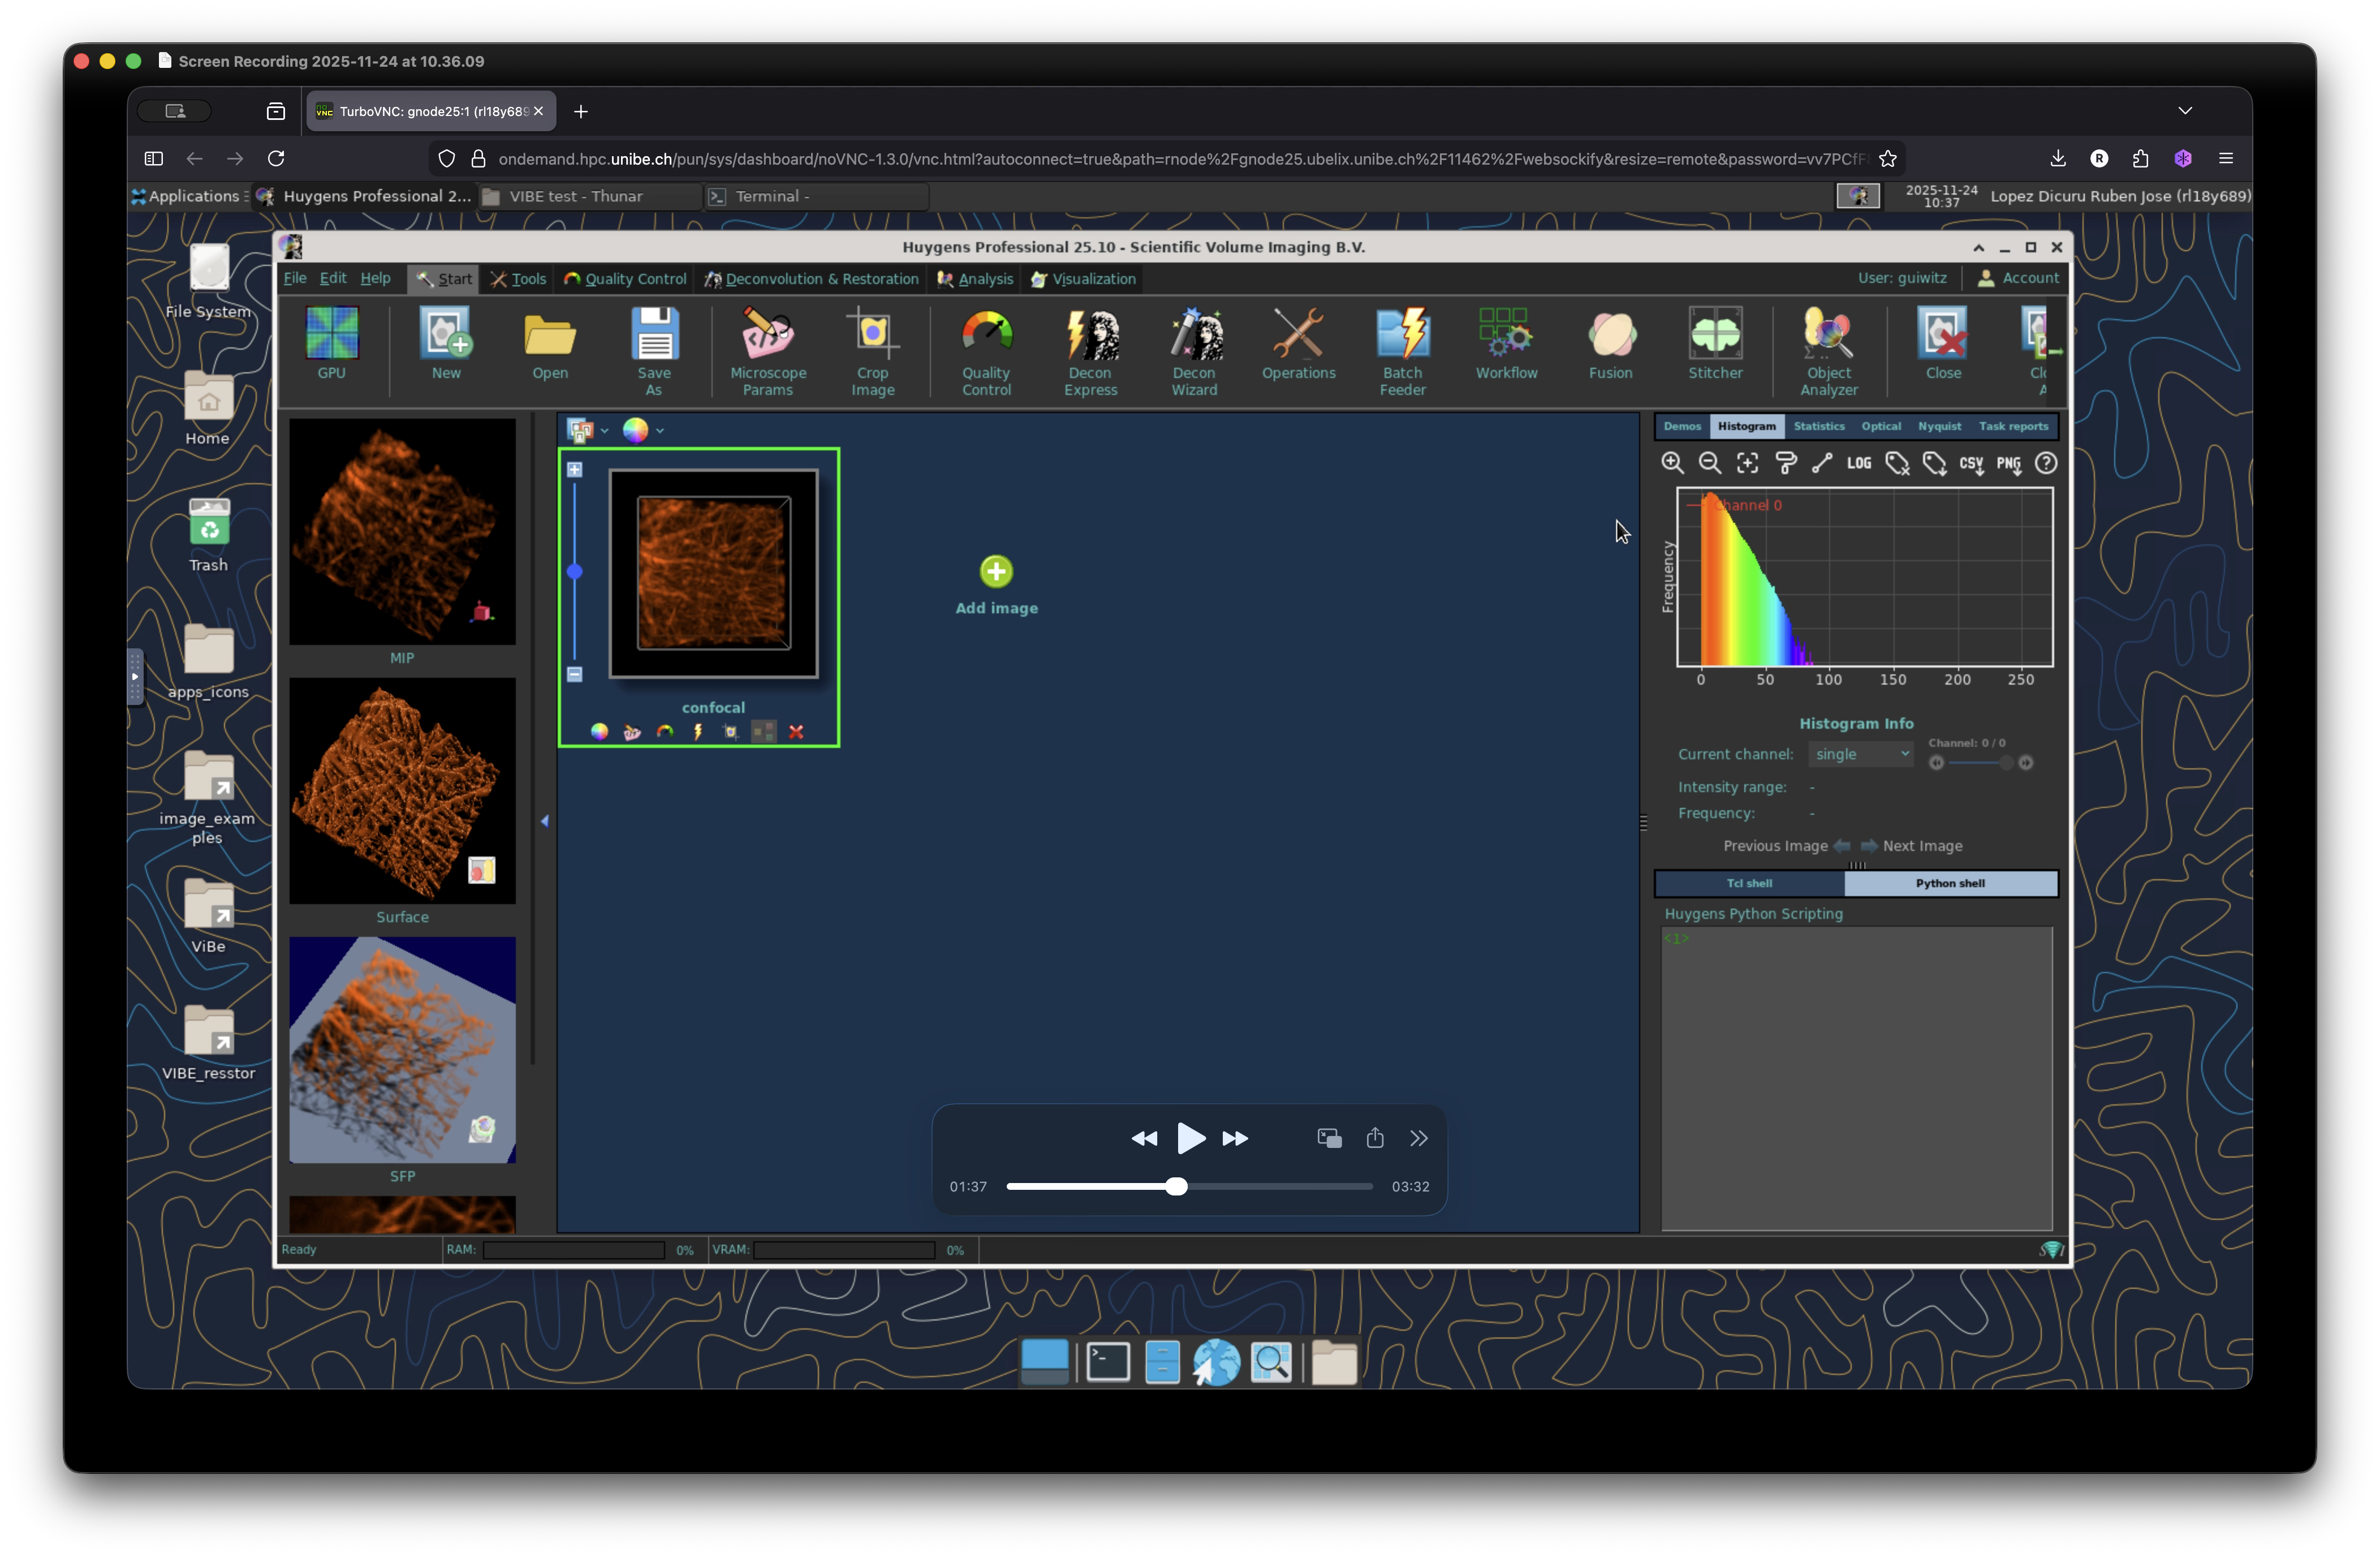
The dataset that we are going to use for this workflow is currently living somewhere at the $HOME directory of the current UBELIX session in use. Let’s open the dataset by just drag and drop our image to the main application windows. Huygens is a very versatile software with a wide range of functionalities that won’t be covered in this workflow. Feel free to look at the official documentation and watch the multiples tutorials and learning material in the SVI website.
Adjust microscopy settings
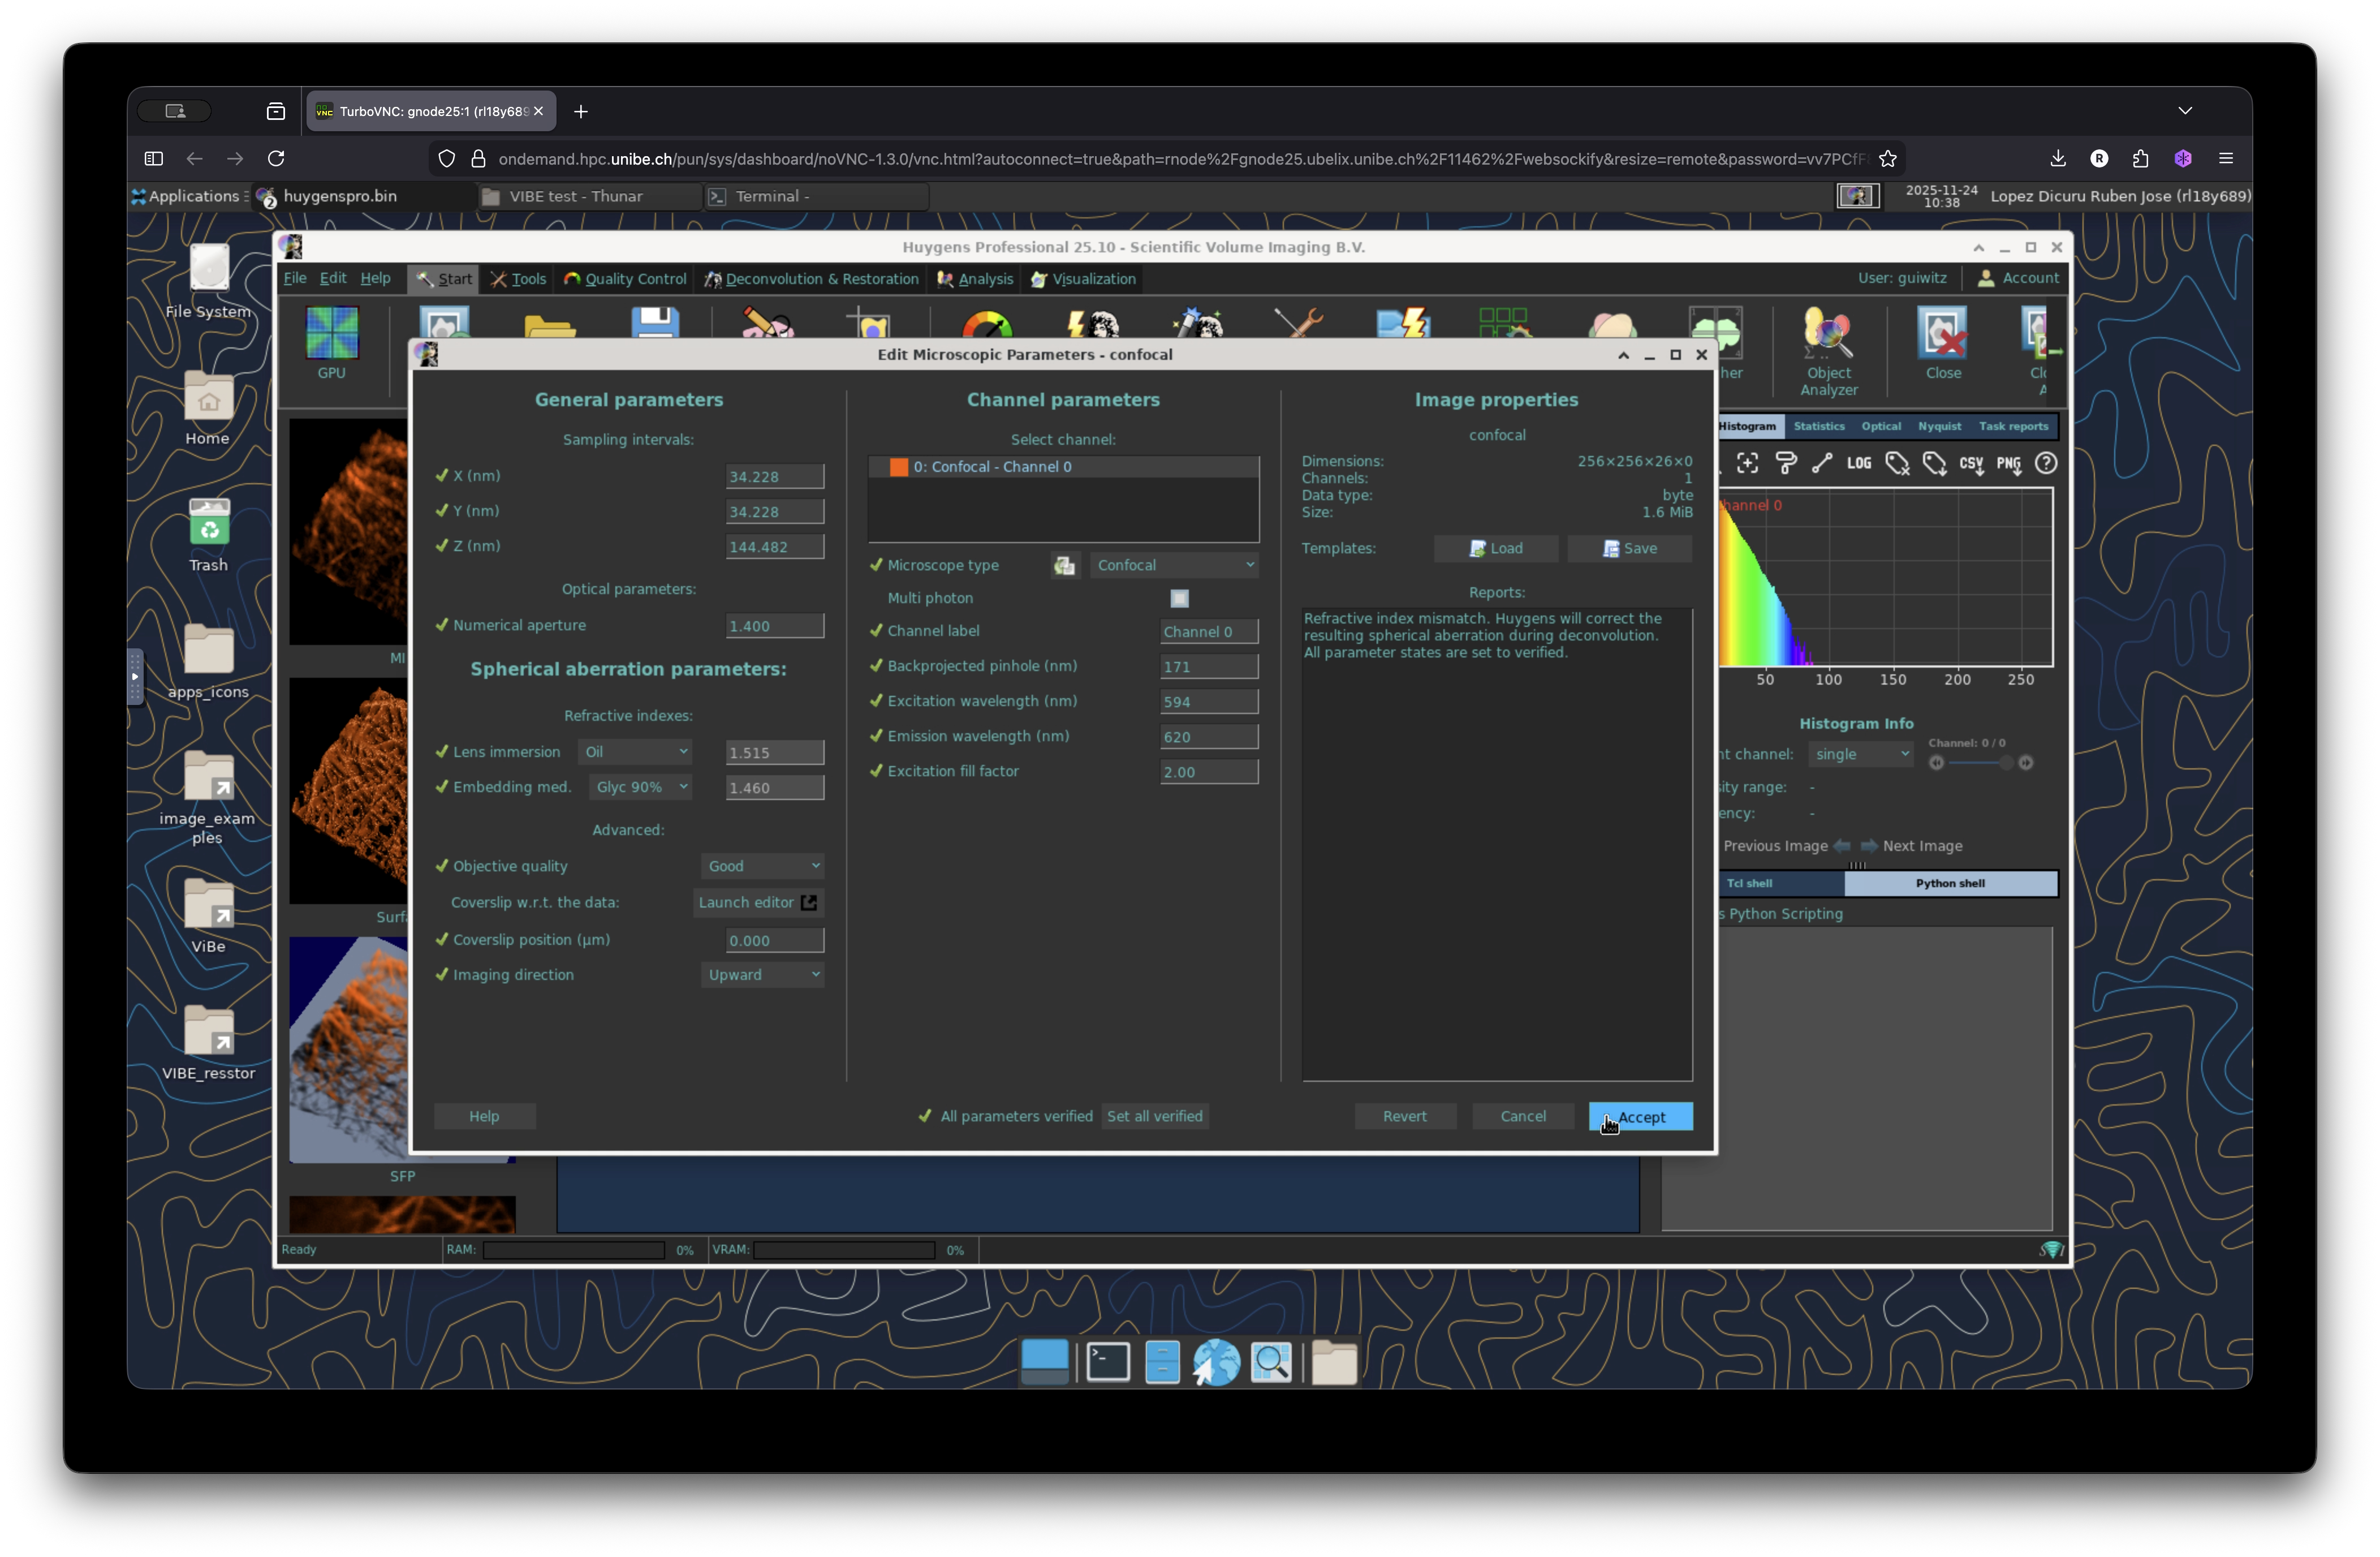
Make sure that the metadata from your image is correct. To check the metadata, right click on the image and select “Microscopic Parameters”. It will display the microscopy parameters stored in the current image. Check them carefully and modify any missing parameter accordingly and accept the changes.
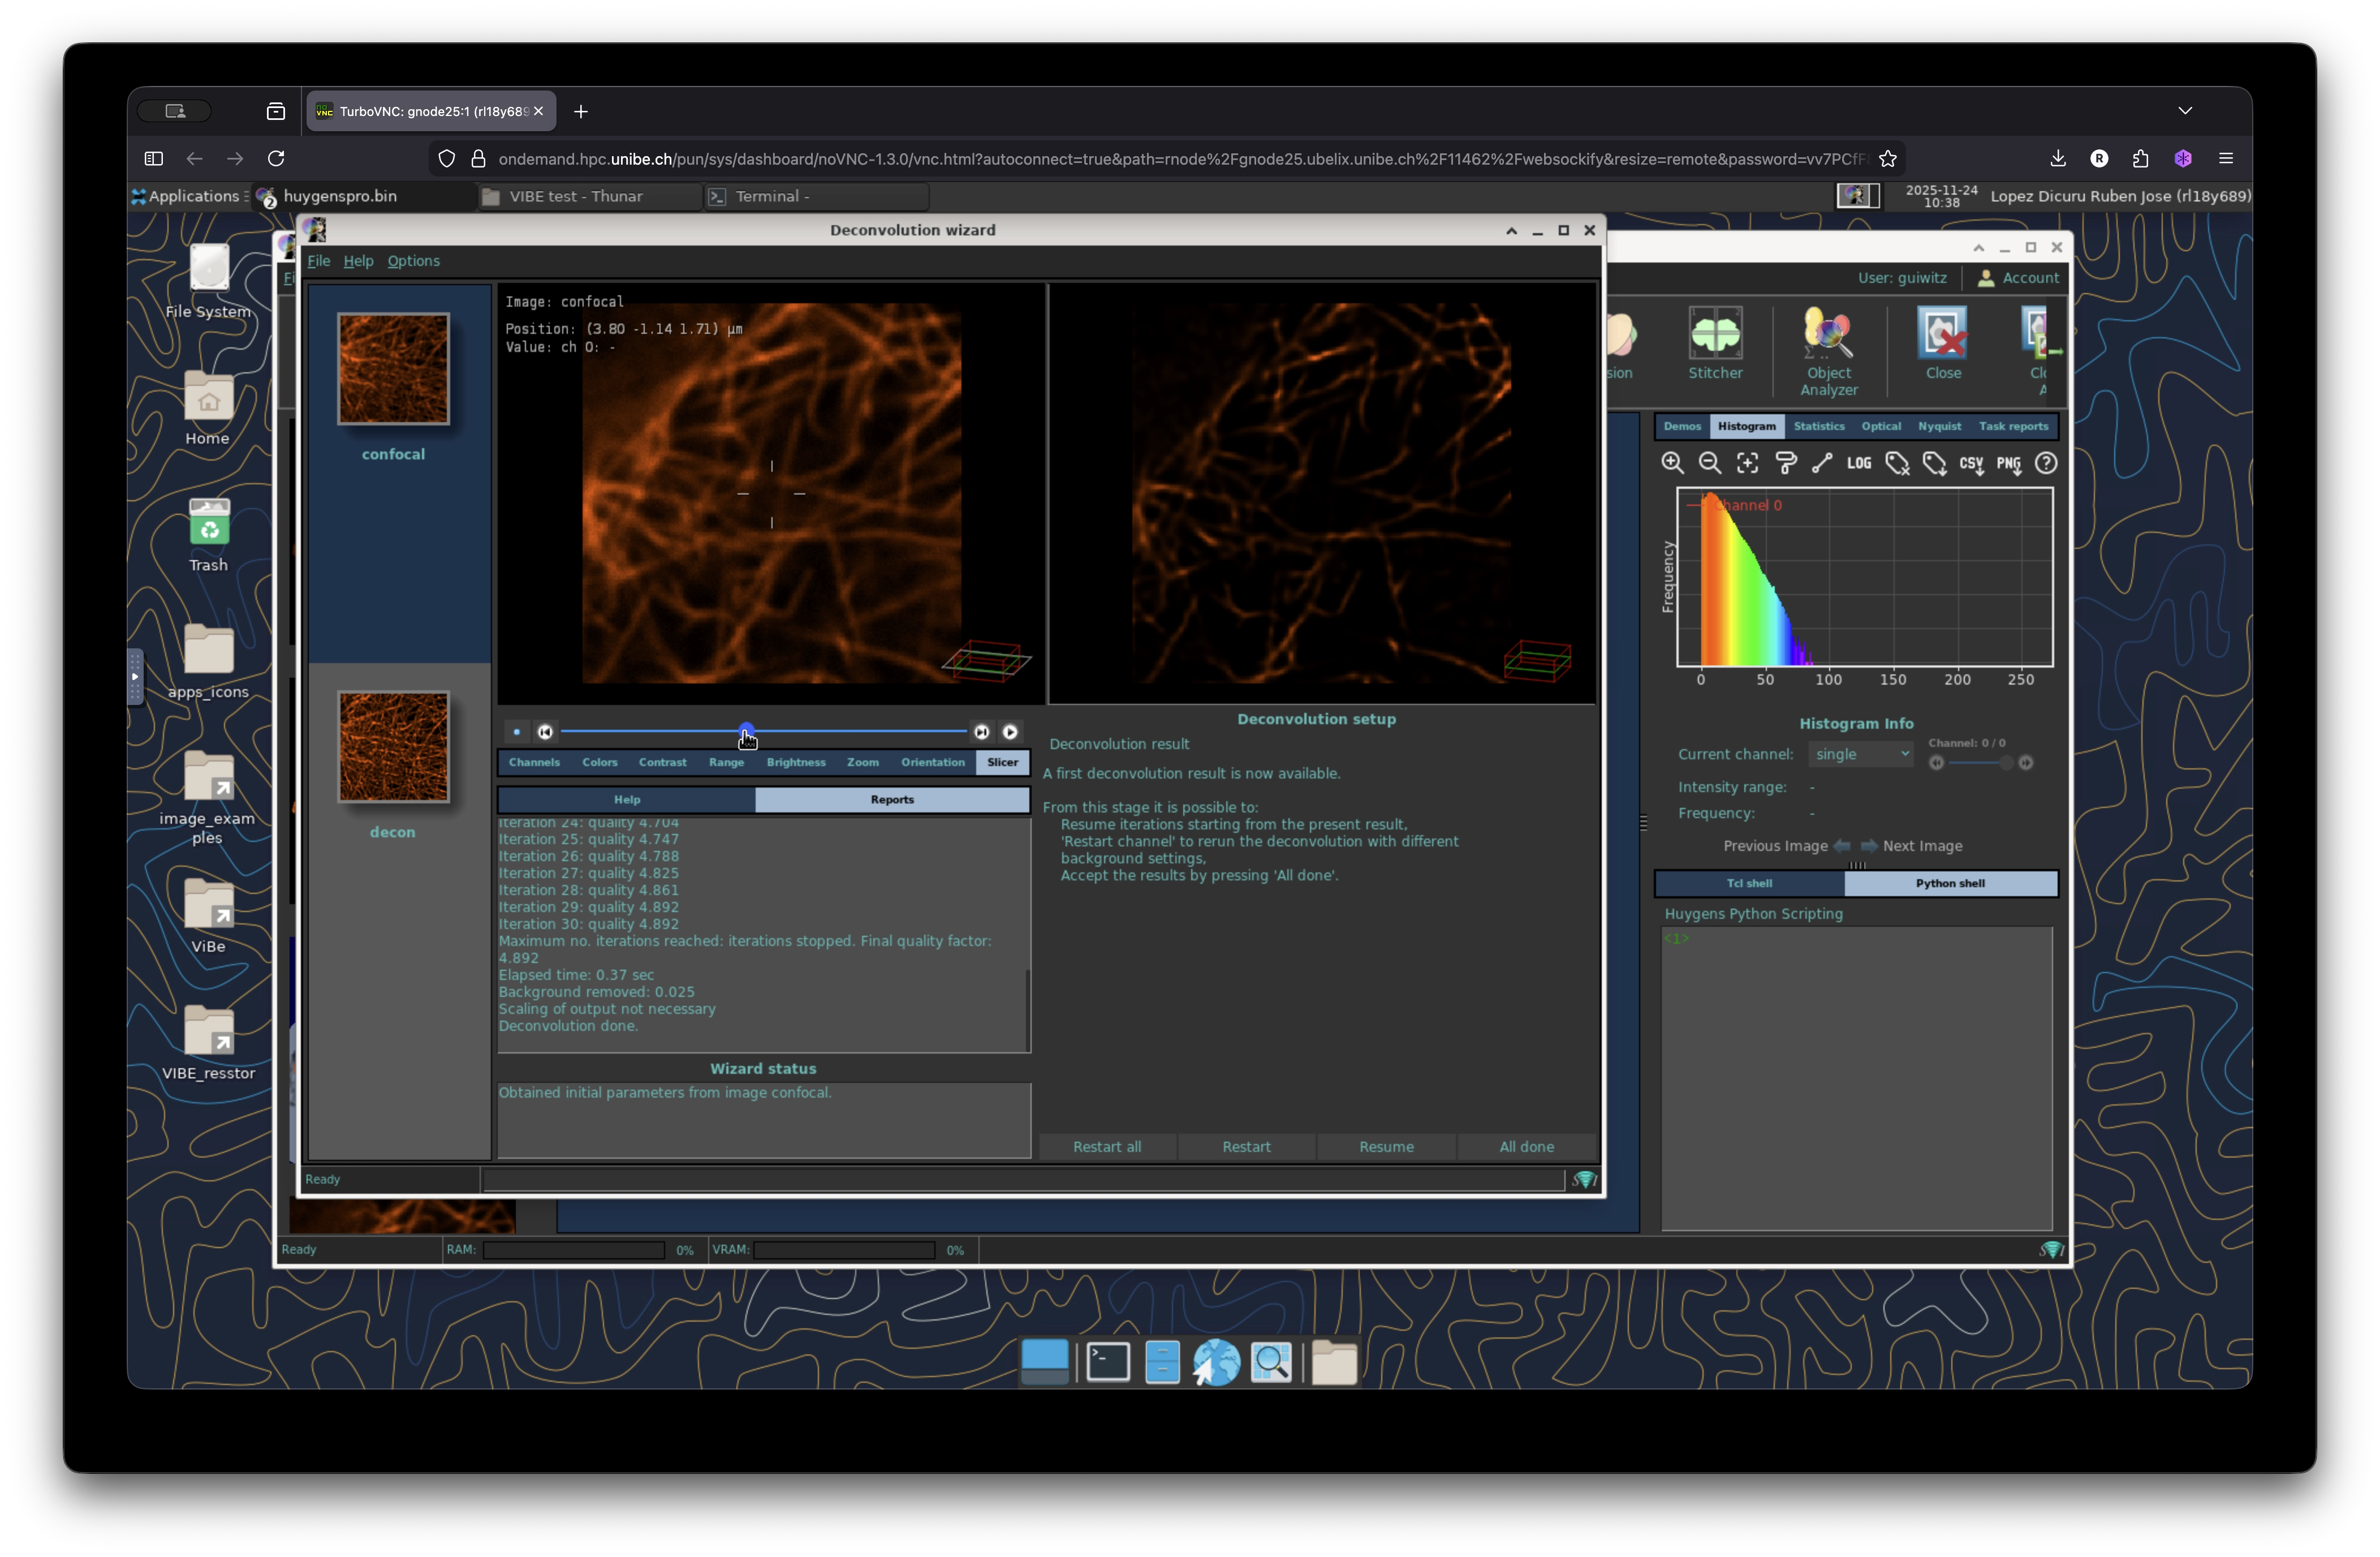
Launch the Deconvolution Wizard
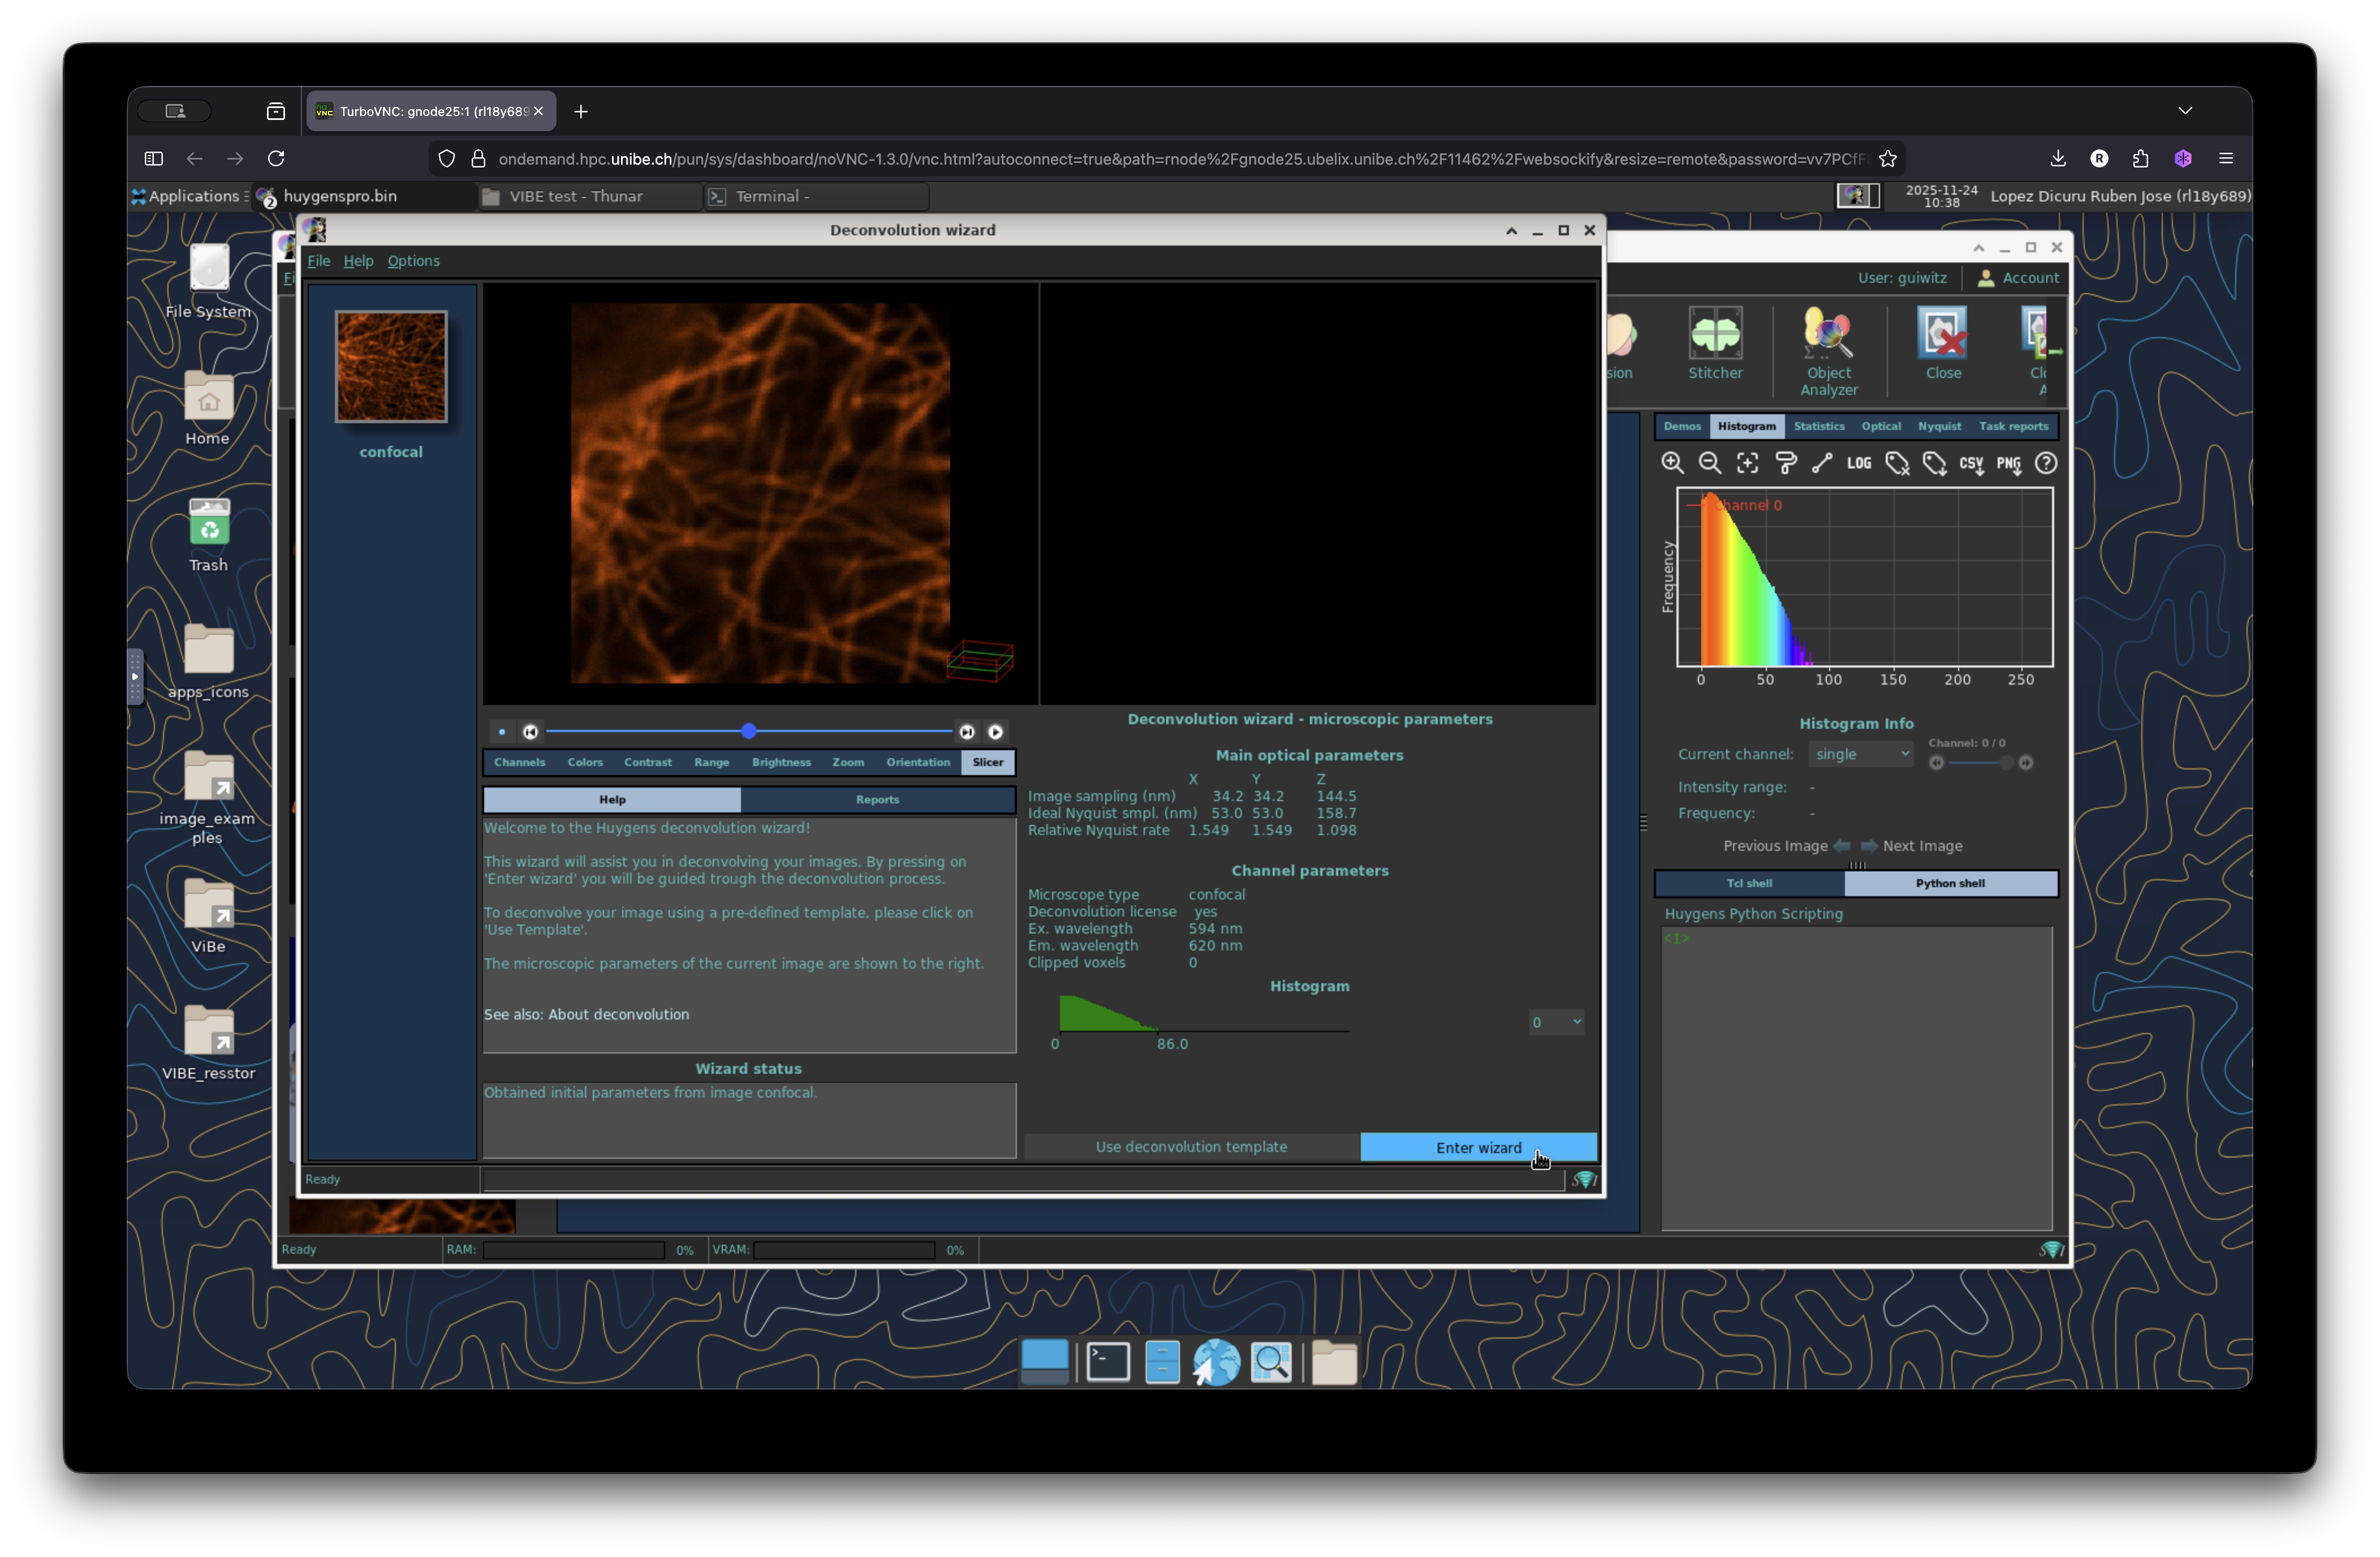
Click on the deconvolution wizard to start the deconvolution operation on your image. Navigate the wizard and change the parameters accordingly. For this image we will use the default settings. The deconvolution calculation for this image is fairly quick. However depending of the size of your image, number of channels, size of stack, etc, the deconvolution time may take longer. If you have doubt about how to deconvolve your images please get in touch with the MIC for technical support.
Quick 2D visualization
Once finished, the deconvolution wizard will display the resulting deconvolved image next to the original image to visualize the changes, thus helping the user to decide if the deconvolution operation was successful or if you need to modify your parameters and re-run it again.
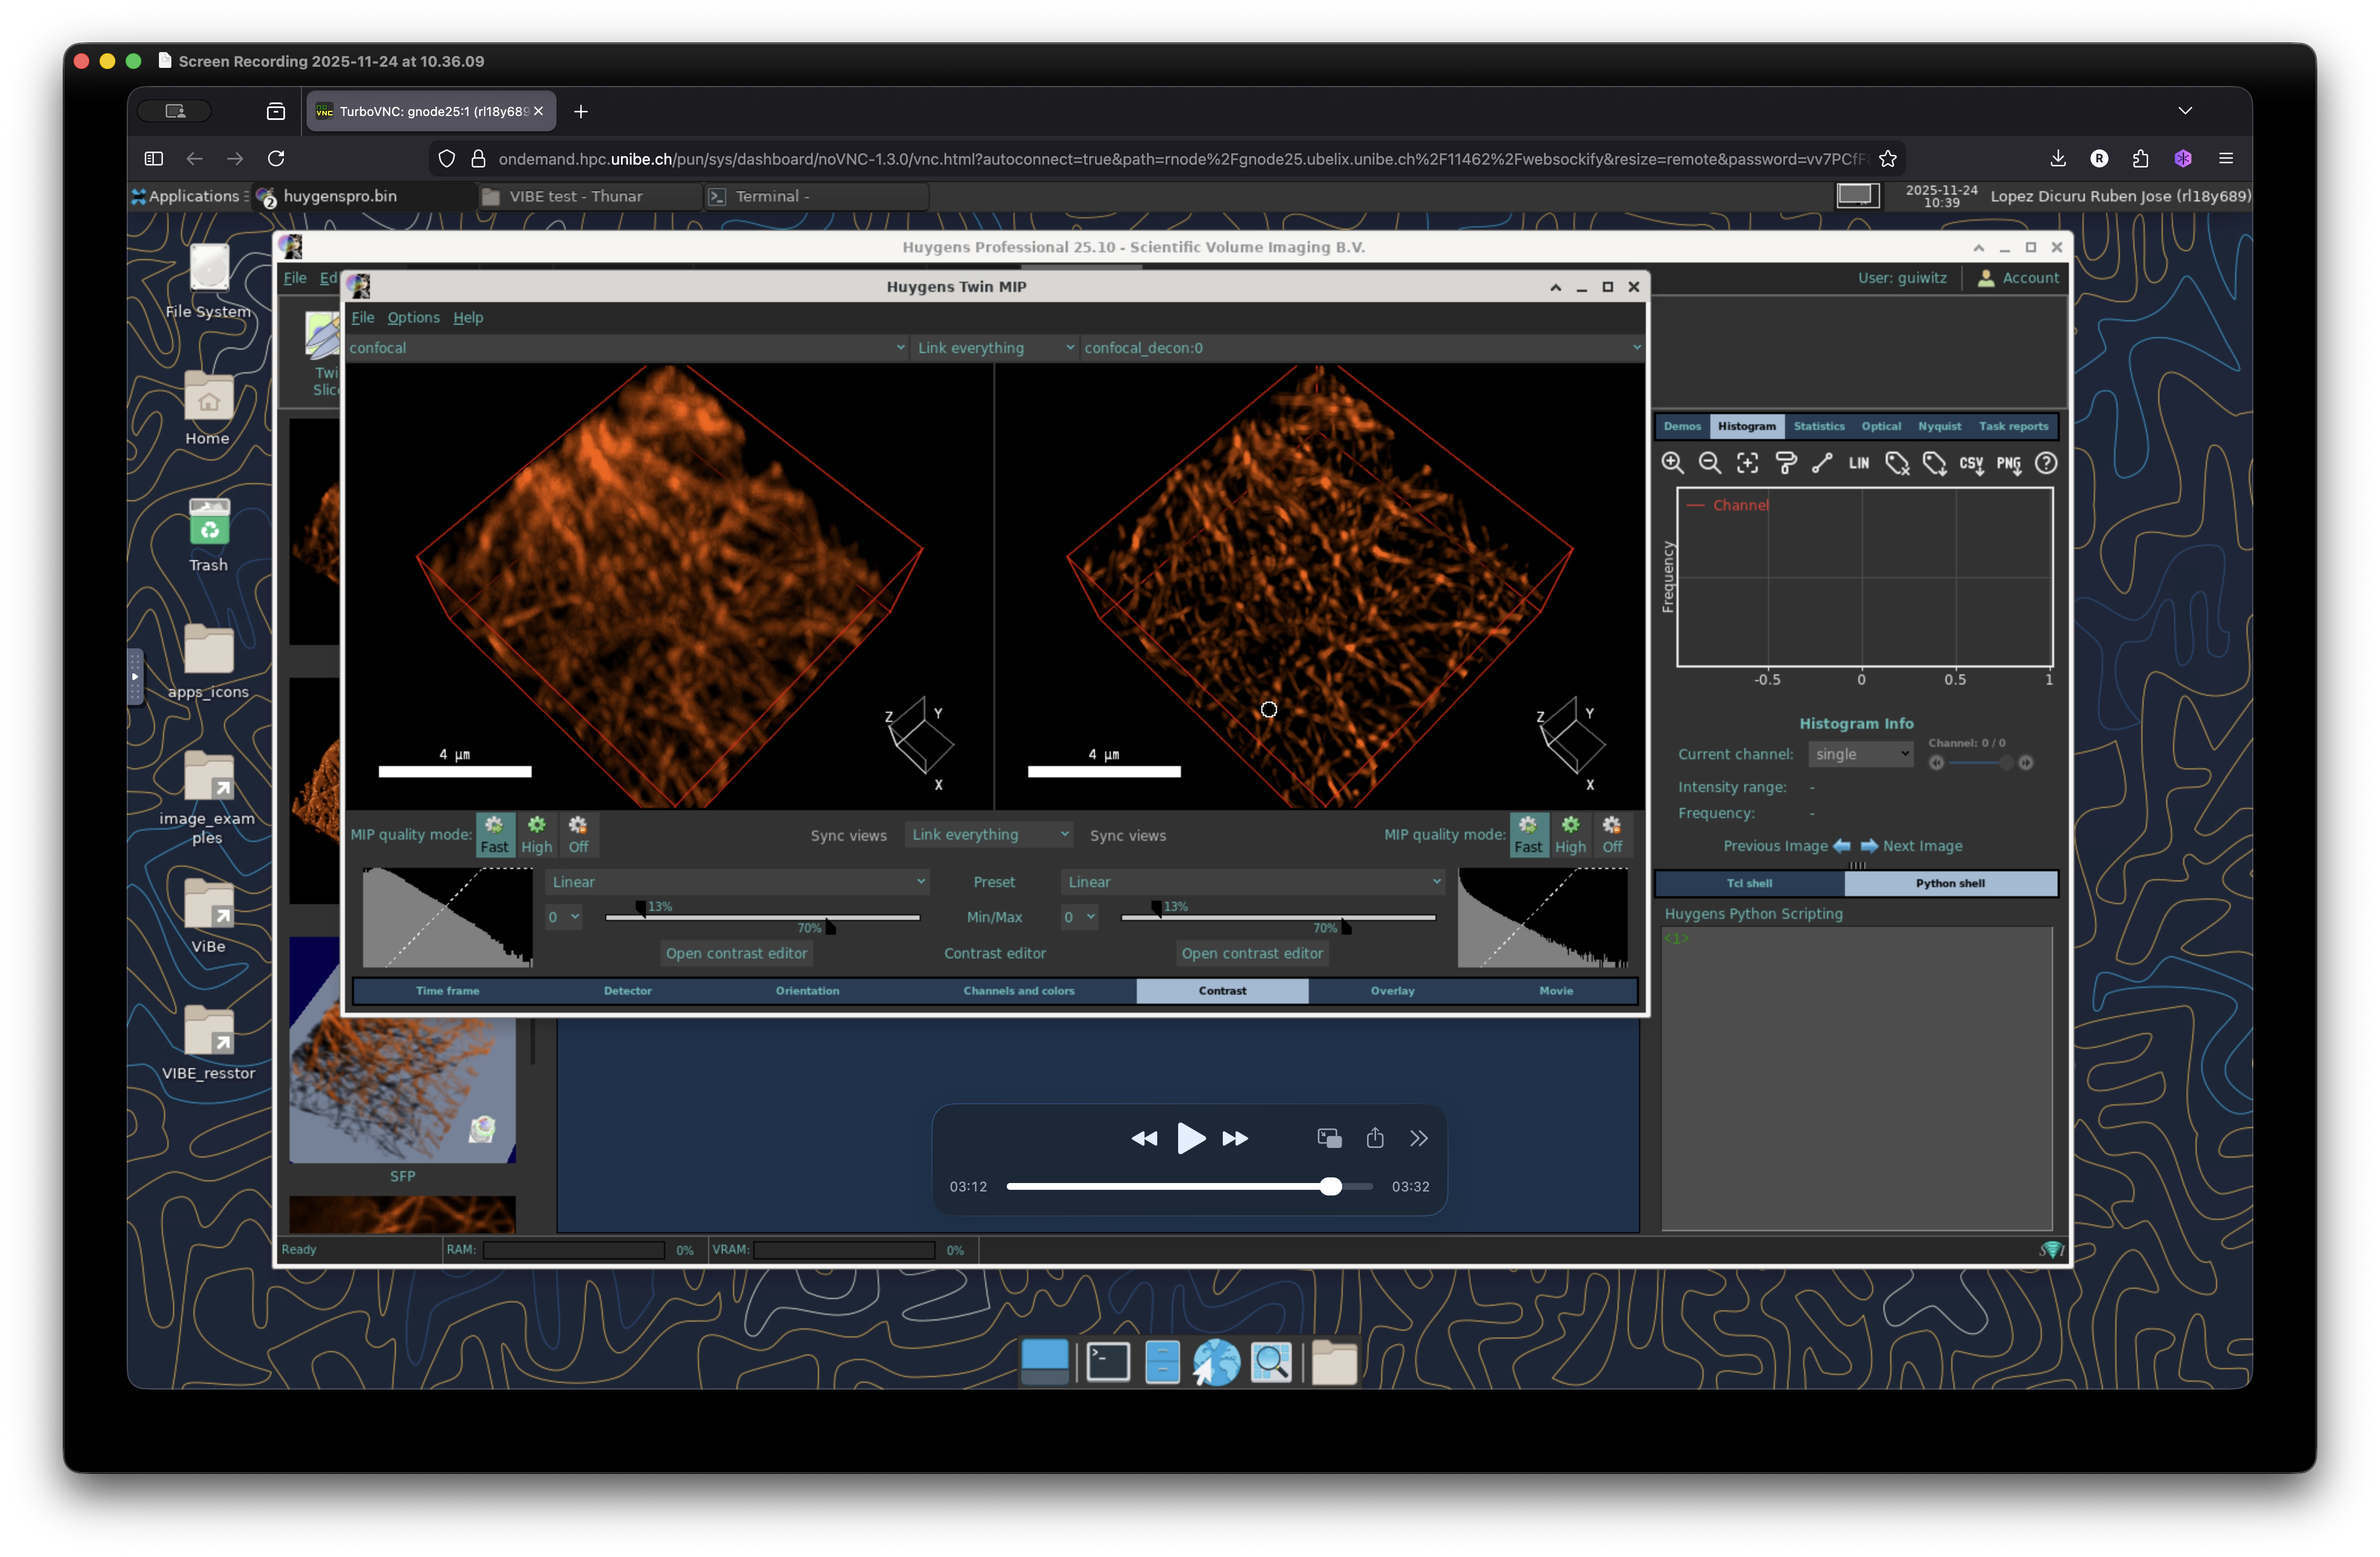
3D visualization
We can explore further the resulting image via 3D visualization. In the main window, select the two images and click on the tab “Visualization”. Go to “Visualization 3D” and select “Twint MIP”. This will display the maximum intensity projection (MIP) of the two images in a new window. Sync the vies and readjust contrast or any other parameter to inspect in detail your image.
Full workflow
The complete workflow from beginning to end can be visualized here:
Acknowledgment
- Dr. Yury Beliaev: For his valuable technical expertise on image restoration and deconvolution.
- Dr. Diego Morone: For kindly providing the dataset.